So, I have been debating whether or not to post this recipe. It’s really delicious BUT, I don’t have a sourdough starter recipe. There are plenty available on the Internet but, I received mine from a friend (Thank you, Bobbie A!) a number of years ago and have never started one from scratch. I understand it’s easy – just as this bread is… And, I leave you on your own to discover the process. (There is a GREAT book I just read by Michael Pollan called “Cooked”. In it you will find excellent process instructions for a sourdough starter.) Once you obtain your sourdough starter, you can make this simple bread.
With only six ingredients, you have plenty of wiggle room to customize this very basic process.
Begin with a large bread bowl. Into your bowl, place 6 cups of bread flour. For basic white and fluffy bread, use all 6 cups of unbleached white bread flour. If you prefer a whole wheat blend, replace 2-3 cups with whole wheat flour to total 6 cups. (Note: using all whole wheat will make a very dark, dense and flat bread) For this batch, I used 4 cups unbleached white flour and 2 cups amaranth flour. To the flour, add 1 tsp. salt and 1 Tbsp. sugar. 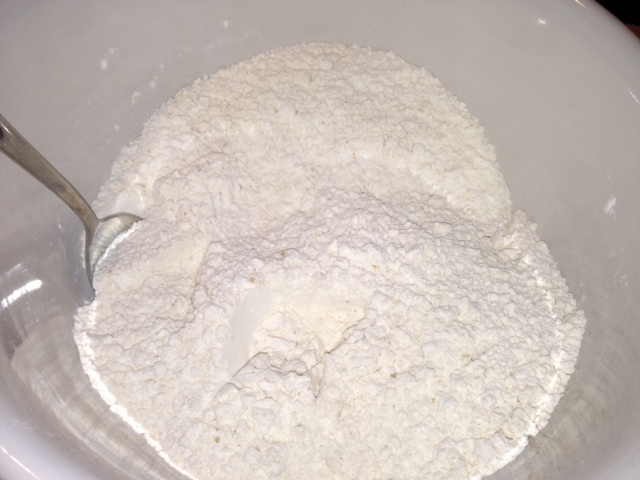
Stir the dry ingredients and make a well in the center.
Then add:
1/2 cup olive oil
1 cup tomato juice or 1 small can tomato juice + additional water to make 1 cup
1 cup sourdough starter 
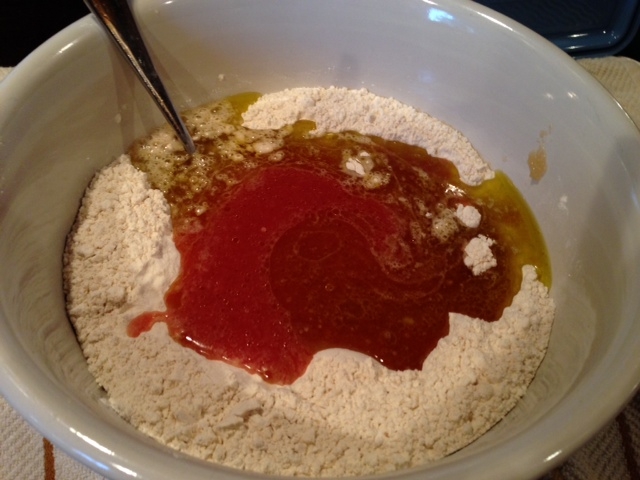 Now you begin to stir. You can start with a large spoon but, at some point, you are just going to have to get your hands in there. It makes a stiff dough and the right tools are your hands!! This is about as far as I get with a spoon:
 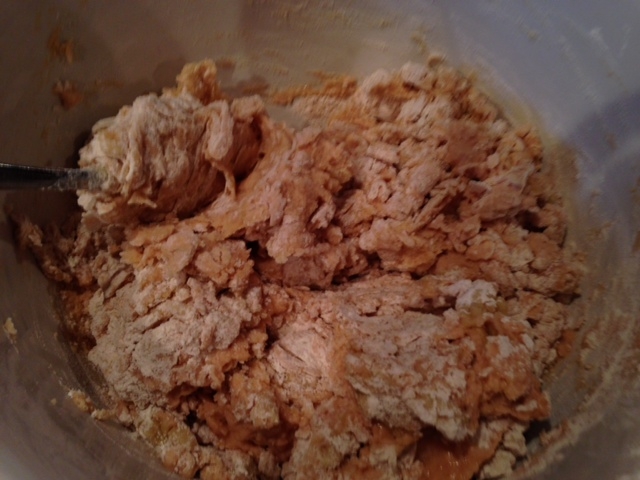 From here, get in there to get it smooth and worked together, cleaning the sides of the bowl and incorporating it all into a nice dough ball.
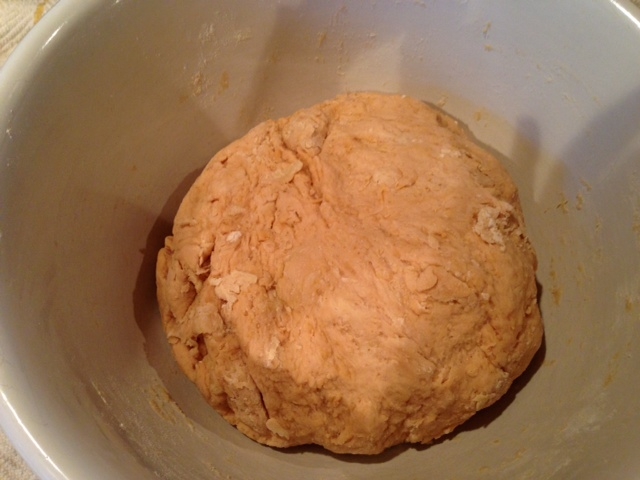
You can see, I am comfortable with a rustic bread. I don’t want to overwork the dough (unless it’s for pizza!) so I just let it come together. You might need to add a little water or flour here to get it right, just trust yourself. Now, drizzle some olive oil onto the dough, about a teaspoon. 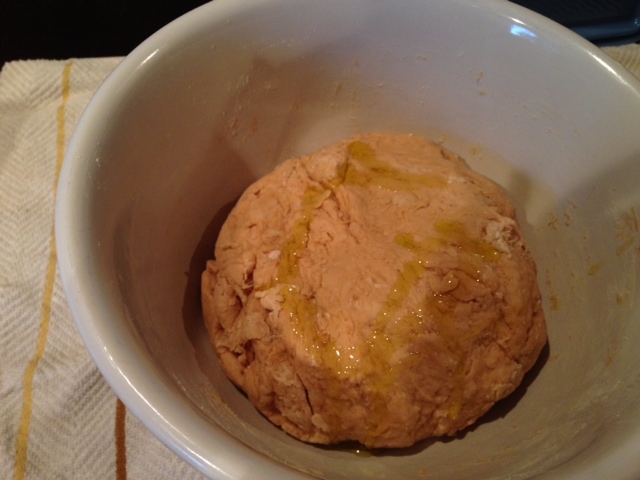 Use your hands to spread the oil by patting it gently on the surface of the dough and then flip the ball so the oil-side is on the bottom. This keeps it from sticking to your bowl and then flip again. Your bowl is now lightly coated as is the dough.
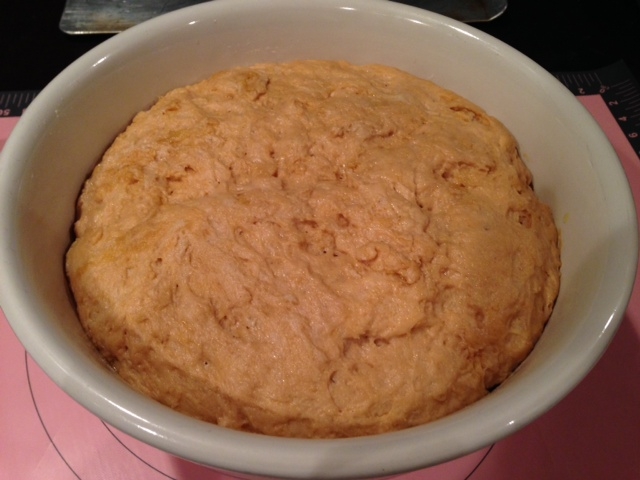
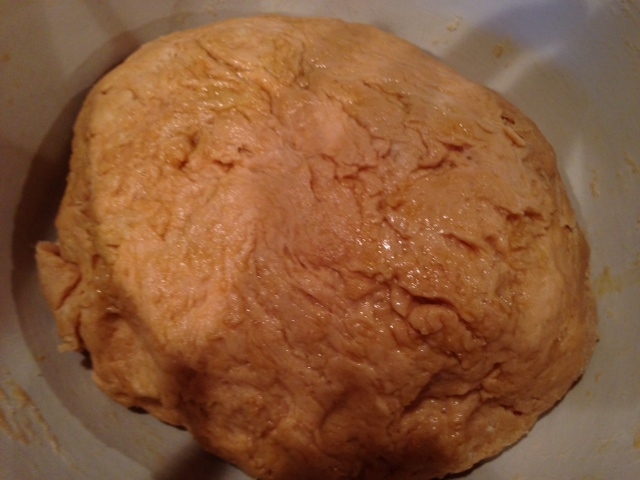 Cover the bowl tightly with aluminum foil and allow to rise about 12 hours, or overnight. Sourdough is very forgiving. Don’t worry about exact times, just take an occasional peek and when your dough has doubled in size, you are there!
Now, take the dough out of the bowl and place it onto a clean counter or dough mat that has a fine layer of flour. Scrape all that deliciousness out and use your hands to get every bit! Knead the dough ball and press out the air. Knead about 10 times, turning a quarter turn each time. If it’s too wet and sticky, add a bit of flour. Now, you want to shape your loaves. I like free-form loaves. Use a sharp smooth-bladed knife and cut the dough in half. Now cut each half into thirds.  Use flour as needed (especially on fresh cut sides) to keep dough workable. Shape into rounds and place onto lightly greased baking sheets.
 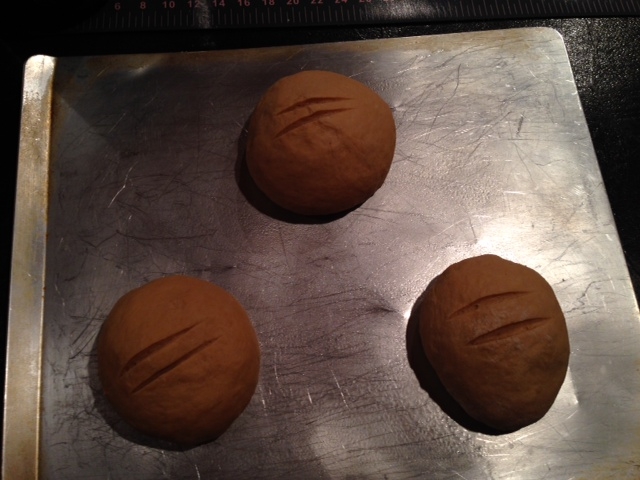 Using a sharp knife, score your bread in whatever pattern pleases you. I use 2 straight lines. Now, place the loaves into a warm place (I like the unheated oven) and allow to rise again. Let it go 6 to 8 hours. Here’s the second rising:
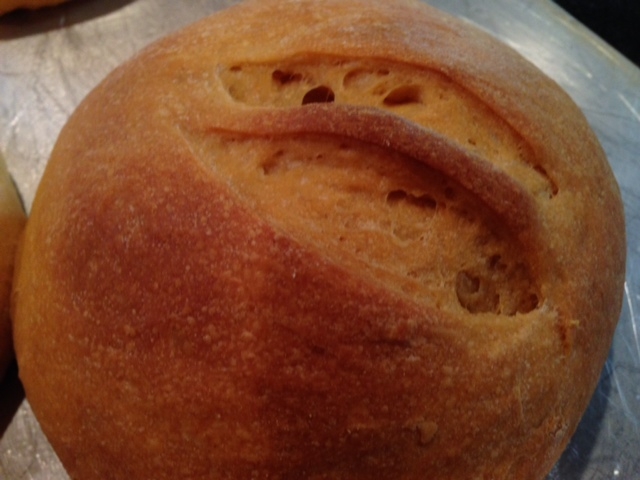
Now you are ready to bake! Turn the oven to 375 degrees and allow it to preheat fully. Slide your loaves in and cook for 20-25 mins. or until golden. I like to turn the pans halfway through to get even browning. Here’s what you get: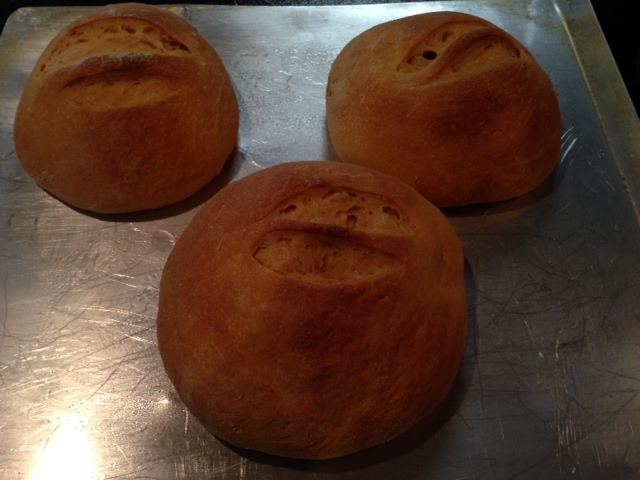
I hope you’ll try this sourdough. You can make dinner-size rolls, pan loaves, breadsticks, twists or clover rolls. You can add rosemary and garlic for a lovely Italian spin or orange zest and cardamom for a breakfast flavor. Your options are as wide as your imagination. Have fun. Make bread!